How to build a Custom Installation Package Bundle using WPF, Prism, MEF, and WiX

The Custom Installation Package Bundle is needed if we want to add a custom UI and more functionality to a standard Bootstrapper Installation package: login before installation, install and configure the mysql server, make permanent configuration changes, creating a MySQL schema etc. All this functionality can be added by hooking into the bootstrapper extension points.
This article will continue the previous one, and it will give you a glimpse of how a Custom Installer is created.
To create the Custom Installer UI and new functionality we will use:
- Burn extension points - For the Custom Installer to work it must hook into the Burn Extension Points. A library called BootstrapperCore.dll is available in WiX, to plug a new user interface into the Burn engine. It contains base classes to override, events to hook into and methods to control the Bootstrapper.
- Managed Extensibility Framework (MEF) - Is a library providing support for extensibility via composition with which, can be built a Custom Installation Package Bundle. Moreover, it avoids fragile hard dependencies in your code and builds applications that are loosely coupled, lightweight and extensible. A MEF component, called part, declaratively specifies both its dependencies (known as imports) and what capabilities it makes available (known as exports).
- Windows Presentation Foundation (WPF) - Is a good choice for creating the UI because it provides a variety of containers for organizing UI controls, support for data binding and reusable styles.
- MVVM (Model-View-ViewModel) pattern provided by Prism, with which can be built a Custom Installation Package Bundle. This model pattern separates the business and presentation logic in your application from its user interface. MVVM is provided by Prism but there is also another good alternative like MVVMLight. Moreover, Prism ads several classes such as DelegateComand that allows you to bind events to handler functions that are not in the code-behind class.
To extend the Burn UI the following steps are needed:
- Create a new C# Class Library, in our case, it is called “InstallerUI” (in the same solution where BootstrapperProject was added) and add a BootstrapperCore.dll reference from WiX.
- In the Bundle.wxs add a reference to the class library and when Boostrapper starts it will use this assembly.
- The Class Library will have WPF code so it will display the installation window while it simultaneously hooks into Burn extension points.
→ See the GitRepository
Referencing the UI in a Burn bundle
In the Bootstrapper project, a reference to the InstallerUI Class Library must be added then it is possible to use preprocessor variables to reference the files needed in a Bundle.wxs.
→ See the Code Sample
<BootstrapperApplicationRef> element must have the Id attribute set as “ManagedBootstrapperApplicationHost”. This will pull prerequisites such as the BootstrapperCore.dll library, Prism, and Newtonsoft.Json. The Payload element that will embed assemblies and other types of resources into a bundle.
The next step is to add the custom design so a new UserControl (WPF) file is added, named InstallerUIWindow.xaml.
Using WPF to build a Custom Installation Package Bundle, will allow us to have different layers between presentation and business logic.
We will need to change the file, to use a <Window> instead of the <UserControl> because it is not a reusable element.
The View contains binding controls for buttons, progress bars, text blocks, and labels.
→ See the Code Sample
InstallerUIWindow.xaml.cs, the Interaction logic for InstallerUIWindow.xaml, will contain some simple logic: close and minimize the Installer window.
→ See the Code Sample
Next, we add an XML configuration file, InstallerUI.BootstrapperCore.config, that will tell Burn to use our new assembly. The file contents can be copied from an existing version of it from the WiX SDK folder to your project. Be sure to change its properties in Visual Studio so that, the Copy to Output Directory setting is set to Copy, if newer.
→ See the Code Sample
Forward, we will add an attribute to the AssemblyInfo.cs:
[assembly: BootstrapperApplication(typeof(InstallerUIBootstrapper))]
This identifies the class in our assembly that extends the BootstrapperApplication class. Burn looks for this class and automatically calls its Run method. That will be our jumping-on point in the Burn process.
We created a new class, InstallerUIBootstrapper, that extends the abstract class BootstrapperAplication from the Microsoft.Tools.WindowsInstallerXml.Bootstrapper namespace and will extend the Interface IInteractionService. The InstallerUIBootstrapper abstract class contains all the event handlers needed to hook into Bootstrapper:
- Run() - entry point of WiX with which can be built a Custom Installation Package Bundle, it overrides BootstrapperApplication abstract class;
- Engine.Detect() - will populate the view models;
- installerUIWindow.Show() will display the UI;
A Dispatcher object provides a way for sending messages between the UI thread and any backend threads. It provides a handy Invoke method that we can use to update the state of our UI controls. Without it, the UI thread would ignore our attempts to interact with it from another thread.
→ See the Code Sample
The core of MEF composition model is the composition container, which contains all the parts available which perform the composition.
→ See the Code Sample
Next, we can define “InstallationStatus” as an enumeration, to know in what phase of the bootstrapping process we are in so we can change the UI elements:
→ See the Code Sample
This helps to know in what phase of the bootstrapping process we are in so we can change the UI elements.
WiX Burn has three main phases which happen asynchronously:
1. Detect - It should be the first process that should run as soon as the Bootstrapper starts because it needs to decide what button should be active from the UI: Install or Uninstall.
During this phase, the engine will raise the OnDetect events to tell the Bootstrapper Application what it finds;
2. Plan - This is the phase where the Burn engine specifies the desired operation by calling Engine.Plan(). This is done, usually, right before Apply phase, after the user clicks on UI buttons.
The OnPlan events are raised in this phase;
3. Apply - This is the phase where the Burn engine is installing or uninstalling the packages in the bundle and starts when the Bootstrapper application calls Engine.Apply(). Most of the events are raised in this phase and are related to the progress, error reporting or to allow the bootstrapper application to handle certain things. Apply has two sub-phases: Cache and Execute;
There are three more events that are not raised during the previous main phases:
- OnStartup - Raised when the Bootstrapper first start.
- OnShutdown - Raised when the Bootstrapper is quitting.
- OnSystemShutdown - raised when the WM_QUERYENDSESSION window message is received.
Create a new class named InstallerUIWindowViewModel that extends an abstract class BindableBase that implements INotifyPropertyChanged interface. This is a helper class from the Prism library that facilitates notifying the view when a property is updated in the view model.
In this class we import the MEF parts, we extend this class with two services, IMySQLService and IInteractionService.
InstallerUIWindowViewModel class should contain:
- Properties for data binding - to notify the view that a property is changed we call RaisePropertyChanged method.
→ See the Code Sample
- Class Constructor
In the class constructor, we set up the event handlers and setup commands. We extend the implementation for the BootstrapperApplication in the namespace Microsoft.Tools.WindowsInstallerXml.Bootstrapper and we import parts of the MEF extension classes to extend functionality using composition. The InstallerUIWindowsViewModel constructor will receive BootstrapperApplication and Engine as parameters.
1. There are three setup commands defined: Install, Uninstall and Cancel. These commands will enable or disable the UI controls that are bound to them. Engine.Plan will launch an action, Install or Uninstall.
→ See the Code Sample
2. Event Handlers - the most important event handler used:
DetectBegin - Start checking if the Bootstrapper package is installed/uninstalled. Here we set the Status variable that can be used to change the UI according to current action we are in.
ExecutePackageBegin - Triggered when individual package installation/uninstallation begins. Here we display the current installation package name using a property that binds to a WPF UI label element.
ExecutePackageComplete - Triggered when individual package action begins. Here we check, for example, if the MySQL Community Installer finished running, we can start a server installation and configuration.
ExecuteProgress - Gets triggered when progress changes. In this area, we also check if “Cancel“ button is pressed (it will do a roll-back in case this button is pressed).
ApplyComplete - it is triggered when an action is completed.
→ See the Code Sample
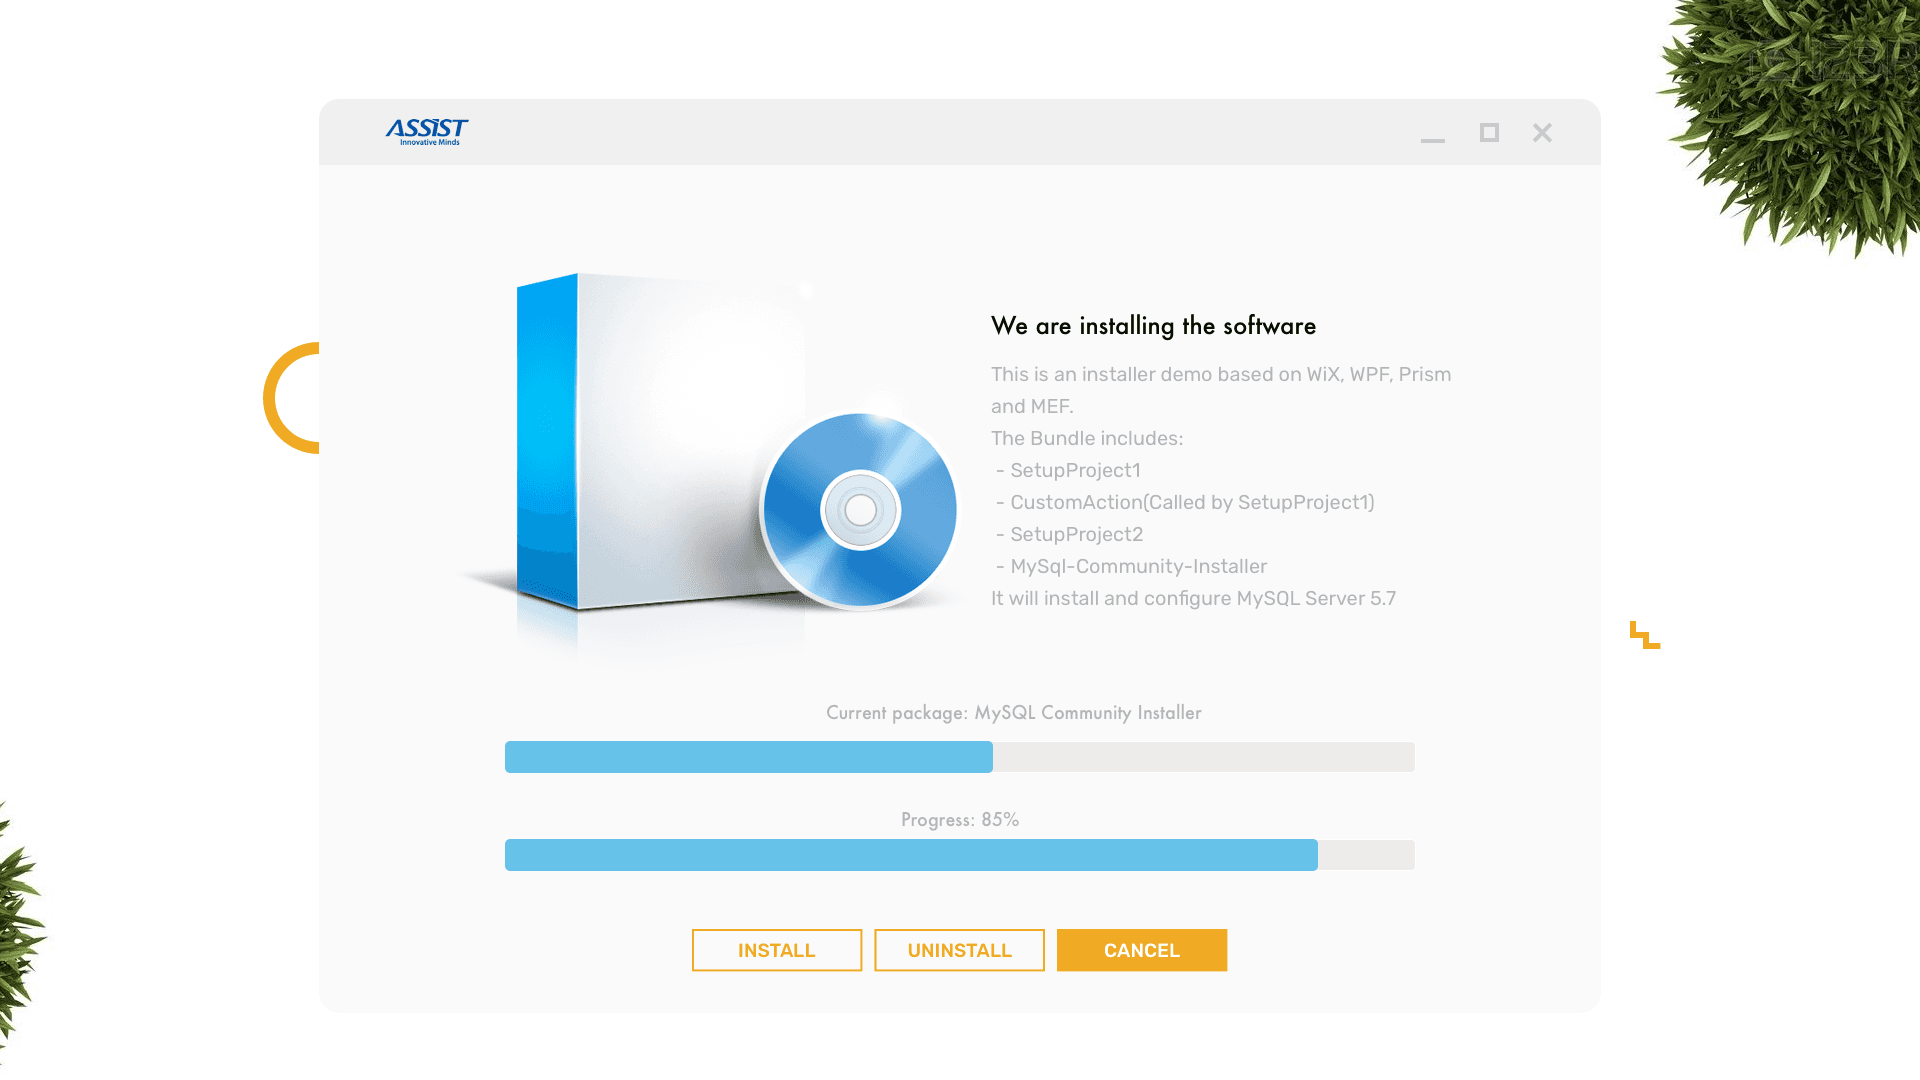
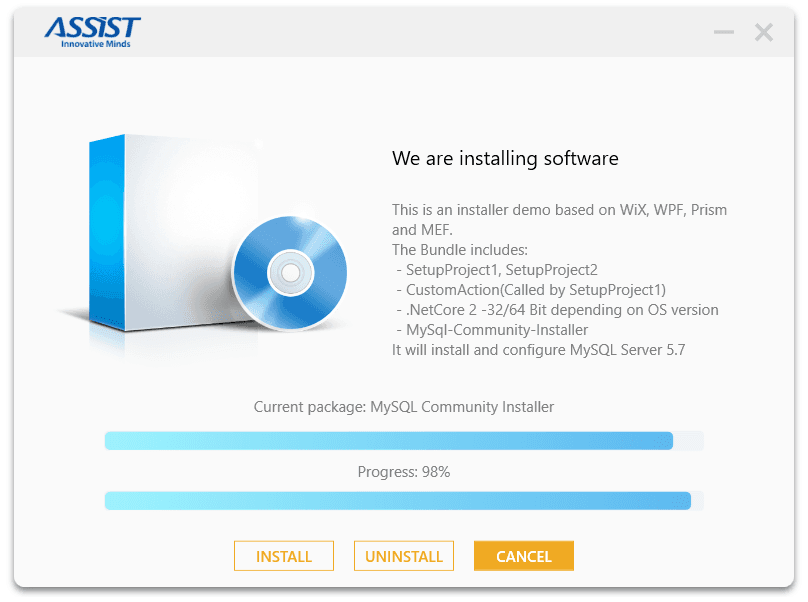
The Custom Installer displays the current installation package, current installation progress, overall progress, overall progress in percents. It should install, uninstall, abort and rollback the installation.
The Custom Installer window looks like this:

WiX is a great and reliable tool for creating installer packages. It comes with a lot of extension features and using it along with WPF (Windows Presentation Foundation), Prism (Model-View-ViewModel) and MEF (Managed Extensibility Framework) can fulfill any kind of installer requirements.
It is possible to create a single installation file even if the installer project contains prerequisites, installer files, embedded files, images, console projects, class libraries etc.


