Growing with the Google Developer Nanodegree Scholarship
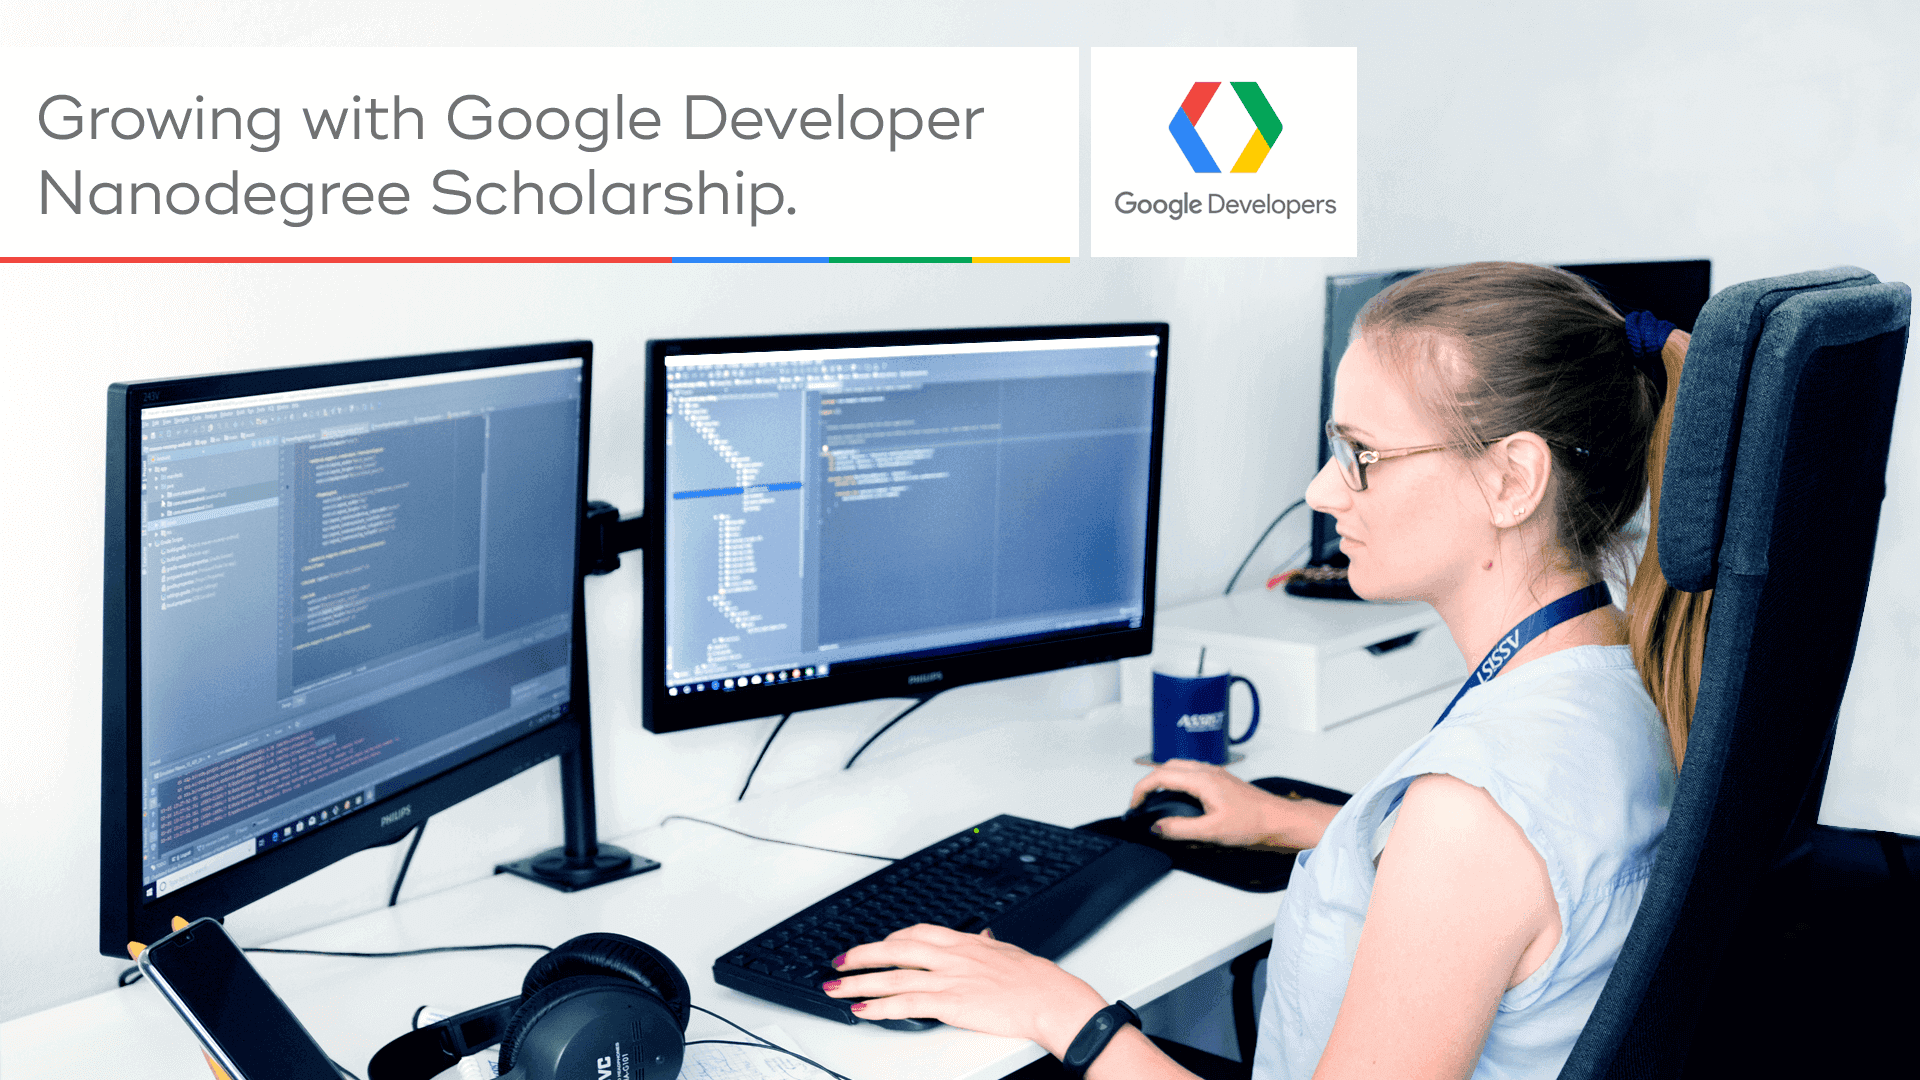
Hello, world! In this article, I want to tell you about an Android development scholarship program that I completed recently.
Therefore, if you are interested in mobile development, you need to read this article!
Last year, I read an article about the Google Developer Challenge Scholarship, a three-month-long scholarship program for people interested in web and Android Development. I was curious about the program, so I decided to apply. A few days after submitting my application, I received an e-mail informing me that I had been selected for the program! I was given three months access to Udacity’s Developing Android Apps course and throughout the scholarship, I received support and feedback from Udacity mentors… pretty cool, right? :)
You do not need a lot of programming experience to complete this three-month-long scholarship. In fact, if you are selected for the Android Developer scholarship, you will be placed in one of two tracks depending on your experience - the beginner track or the intermediate track. Regardless of the track, you are on, you will receive a lot of support from the Udacity community and Udacity mentors.
After building interactive multi-screen Android apps for three months, I got an e-mail congratulating me for being selected to receive a six-month Android Developer Nanodegree Scholarship! I was over the moon about being selected for the initial three-month scholarship, but being awarded the full six-month scholarship really was the icing on the cake! If you get selected for the Nanodegree scholarship, you will get to explore more advanced topics, you will get your own mentor, and you will get individualized feedback for each project you submit!
The Nanodegree program will help you advance your intermediate programming skills and expand your knowledge of Java development best practices for the Android platform. After the successful completion of the program, you will have a diverse portfolio of app development projects to show employers, a certificate to confirm your achievements, and maybe even your own app on the Google Play Store!
If your goal is to get hired as an Android developer, this program is just what you need!
At the start of this course, you will learn how to make Android apps more responsive and how to create a great user experience by using home screen widgets, third-party libraries, and many other features. You will learn about UI testing, which will help you ensure that your apps will meet their functional requirements and achieve a high standard of quality so that they are more likely to be successfully adopted by users. You will also learn how to deeply integrate rich media and how to publish your app on the Google Play Store.
One of the required projects for the Google Developer Nanodegree scholarship involved exchanging lots of data between my services and my application. When I was on an Android Activity I was dealing with a huge number of bitmap images that needed to be displayed. I did the UI and implemented the functionality, but the app started to crash when I was loading images in full-screen mode. The first thing I did was look at the Logcat to see what was causing the app to crash, and I received the following error :
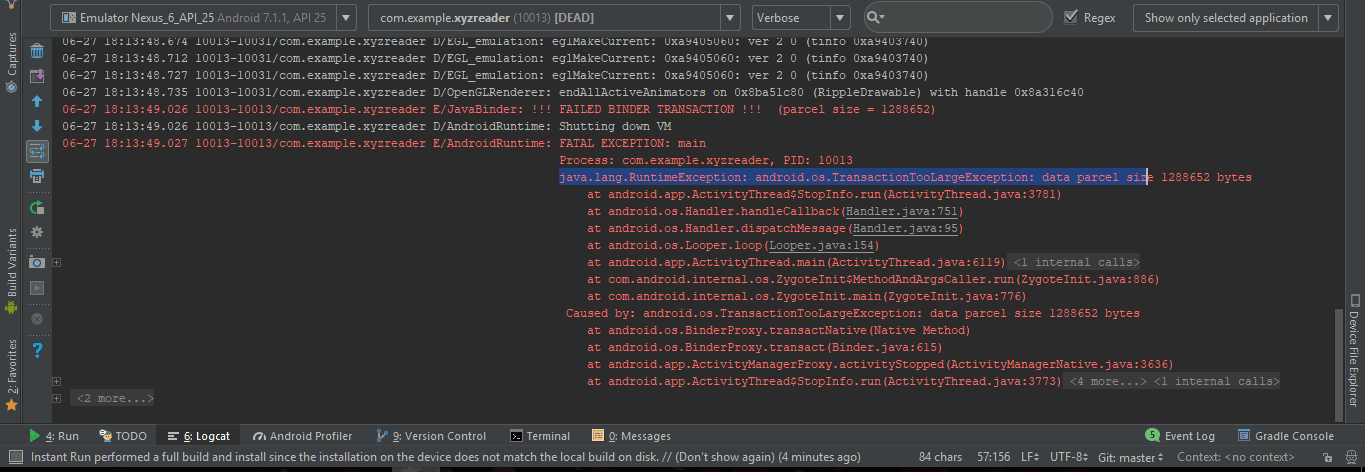
The Logcat didn’t show me the location of the error, which is what it usually does. It just told me that something was wrong: “java.lang.RuntimeException: android.os.TransactionTooLargeException: data parcel size...” .
To stop the app from crashing, I had to google the error to look for solutions. After reading some articles about this error, I understood that the Binder transaction buffer has a fixed size limit of 1Mb. I also realized that if you have too many transactions in progress, this will trigger this exception even when individual transactions are of moderate size.
The fastest fix and the most simple one was to change the target SdkVersion from the build.gradle file to an older version such as version 23. Although this fixed the crash, I had to make sure it didn’t affect the code versions and compatibilities of my APIs. This solution kept my app working but some APIs and libraries don’t work when the targetSdkVersion is set to 23 because Android Studio requires the latest version which is currently version 27.
A better solution is to integrate a library that will save and restore data from the disk when restoring from a background state: https://github.com/livefront/bridge. Following the steps that are described in the library documentation, I managed to handle the huge number of image files that needed to be displayed.
There are other solutions you can use to avoid this exception, but you might need to make a lot of changes to your UI and functionality causing you to lose a lot of time.
As an Android developer, you need to know about the magic that happens after you hit the "Run" button in Android Studio!
During the Google Developer Nanodegree scholarship you will learn about this, you will learn about how the Gradle build tool compiles an app’s packages, and you will learn how to customize the build process.
I am sure that you have downloaded apps that have a free version with ads and a paid version without ads or extra features. Learning how to configure FREE vs. PAID app flavors is an advanced Android topic that you get to explore during the scholarship.
You also learn how to create and integrate Android libraries, how to test your app, how to prepare your app for your future users, and how to publish it on Google Play. If you want to have your app published on Google Play in the future, this part of the program will be very helpful for you. To configure your app for this feature, you have to get the gradle file ready for release as a free or paid app according to the version the user downloads. The lines of code from the following snippet have to be included in the gradle file.
By including these lines of code, you will be able to develop each part of the app the way you want to because gradle creates target sources sets with different functionalities for your app. The gradle file does all the work, so you won’t need to clone your app or make another app.
  flavorDimensions "tier"
    productFlavors {
        free {
            applicationId "com.udacity.gradle.builditbigger.free"
            dimension "tier"
        }
        paid {
            applicationId "com.udacity.gradle.builditbigger.paid"
            dimension "tier"
        }
    }
Specific features for a version are made by creating free/paid folders in the src file and then selecting an option from your target source set, which was created by gradle.
Another trick is to add different dependencies to different build types or flavors using free implementation or freeCompile for older gradle versions of the Android platform.
dependencies {
    implementation fileTree(include: ['*.jar'], dir: 'libs')
    endpointsServer project(path: ':backend', configuration: 'endpoints')
    //noinspection GradleCompatible
    implementation 'com.android.support:appcompat-v7:27.1.1'
    freeImplementation 'com.google.android.gms:play-services-ads:15.0.1'
    implementation 'com.google.api-client:google-api-client:1.23.0'
    implementation 'com.google.http-client:google-http-client-android:1.23.0'
    implementation 'com.google.code.findbugs:jsr305:3.0.2'
    implementation project(':jokelib')
    implementation project(':mylibrary')
    implementation project(path: ':backend', configuration: 'android-endpoints')
    androidTestImplementation('com.android.support.test.espresso:espresso-core:2.2.2', {
        exclude group: 'com.android.support', module: 'support-annotations'
    })
    testImplementation 'junit:junit:4.12'
}
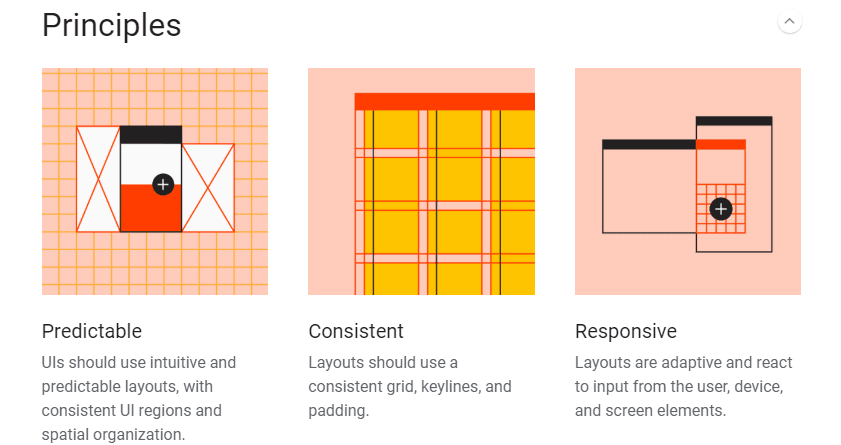
Your app design needs to be user-friendly. The material design principles will help you understand the fundamentals of Android design. You have to learn how to apply the material design principles that define Android's visual language to your apps. You should implement changes that will improve your UI and make it conform to Material Design Standards because you will be working with an app that needs updates and doesn’t work for all users.
The final part and the most exciting part of the Google Developer Nanodegree scholarship is when you get to use everything you have learned to bring your own app idea to life.
You will be the manager and the developer of your project. You will complete this project in two stages: design and build.
If you are looking for a challenging Android development course, I would recommend the Google Developer Nanodegree Scholarship! It is designed to help you figure out if you have the right mindset to work in this field and to show you what it is like to be an Android developer.
If you want to find out more about the program, visit https://eu.udacity.com/nanodegree

