
1st Attempt at a Likeness Sculpt - a quick tutorial
 |
|
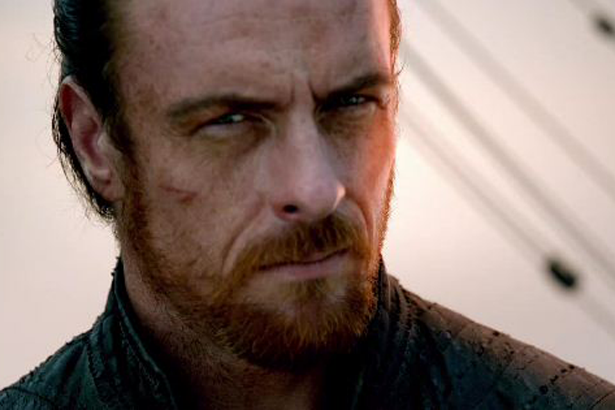
“Cpt. Flint” – Leader of pirates, main character from TV show “Black Sails”, subject of my 3D sculpting epic endeavor
Hi guys! I must start by saying that what you’re about to witness is by no means a finished, fully-accurate 3D replica of a living actor but rather a first attempt at walking through and exploring (and at the same time enduring) the process of how such a complex endeavor can be accomplished. And it is indeed complex, if you consider the infinite variations in human anatomy, expressions, micro-expressions, hair placement, asymmetry, skin tone, skin-detailing (skin directionality, wrinkles, pores, skin imperfections, moles, etc.) and plenty more subtleties we don’t even consciously notice but invariably pick up on and interpret when beholding a portrait, or even more so, a fellow human.
So, on the premise that this is no more than an exercise, albeit it a fascinating one, photorealistic accuracy has at times been neglected or even “obstructed” by more generic values in the light of reaching its broader scope, namely representing the “feel”, “gist” or “presence” of the chosen subject.
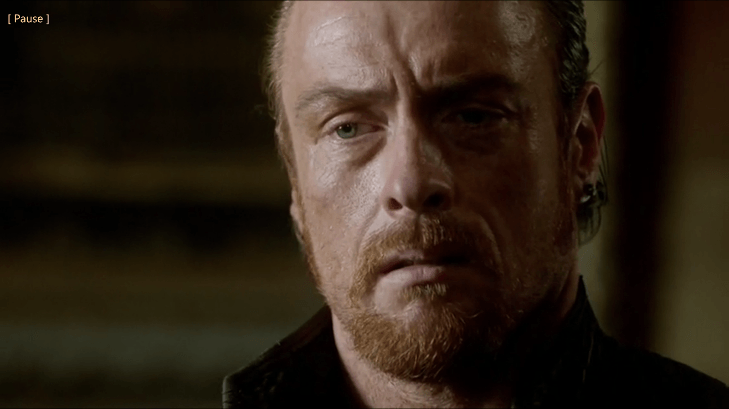
What determined me to choose this particular character in the first place, is exactly his undeniable and overwhelming “presence” that radiates throughout the series, corroborated with keen intelligence, fierce determination and an infallible gift for strategizing. Some of the above shots I think exquisitely capture these traits and, in particular, the one below, which I used as main reference throughout the process (with a bonus interpretation).

“The infamous look” used to express incredulity and contempt towards authority and its compulsory set of mind numbing values such as servility, conformism and prejudice (watch the series for more insight)
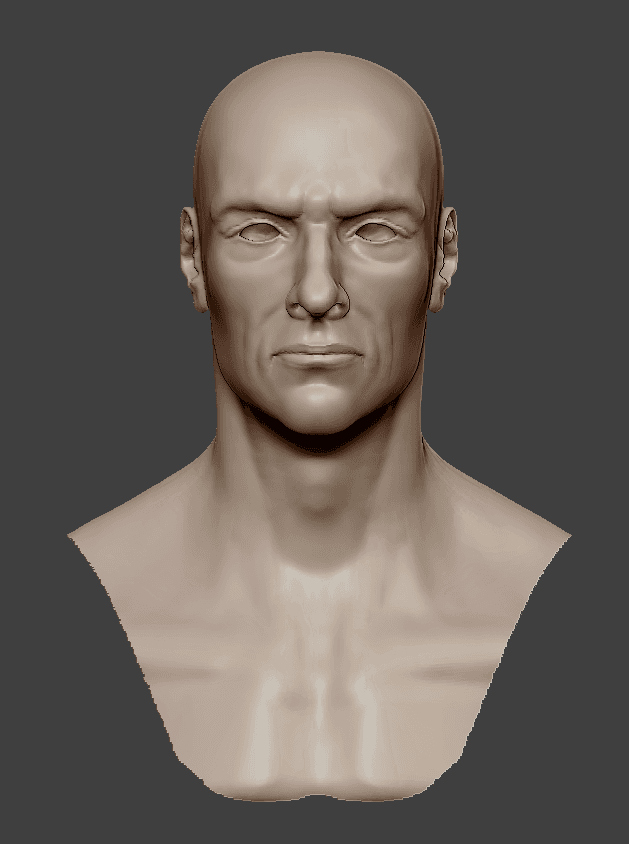
OK, so without further ado, here are some of my results after about two weeks of trial and error (and some failed nerves along the way):
Basic render shots cropped from the canvas of the 3D sculpting application I used, namely ZBrush;
Larger images provided towards the end so be sure to cover the whole of this fine material
Now, what’s missing is a fully accurate set of wrinkles, pores, veins, exact number of brow hairs or facial ones, soul-penetrating eyes, clothing details, dramatic pose and lighting conditions and a mind bending photorealistic render, just to name a few…not to mention the total lack of hair on his head. But, like I said, as a work in progress and exercise my interest and struggle was to capture the aforementioned “look”. Everything else is but a further enterprise in testing and honing your (or rather mine) patience, skill level and perseverance…
OK, so after this brief contemplative break and since this is as far as I’ve got so far, let me walk you through the creative process, without evoking too much of the “tenebrous” technical side.
So, after watching the whole show and becoming thoroughly acquainted with its characters, and in particular Cpt. Flint - the most infamous and feared pirate leader, I set about laboriously gathering reference images and creating a sort of collage to have readily available as refference. This was then implemented as an adjustable texture image on the canvas through the Spotlight Feature of Zbrush.
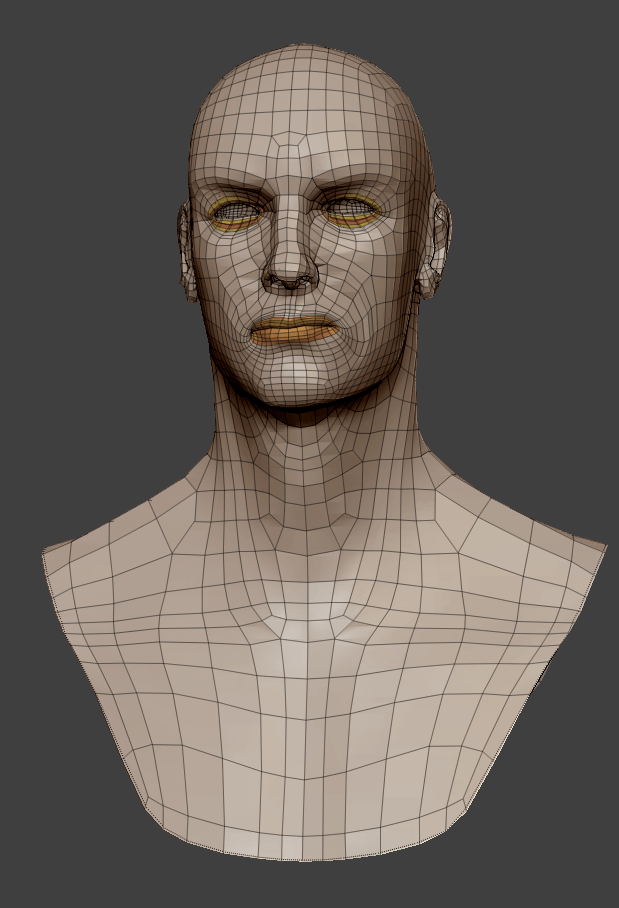
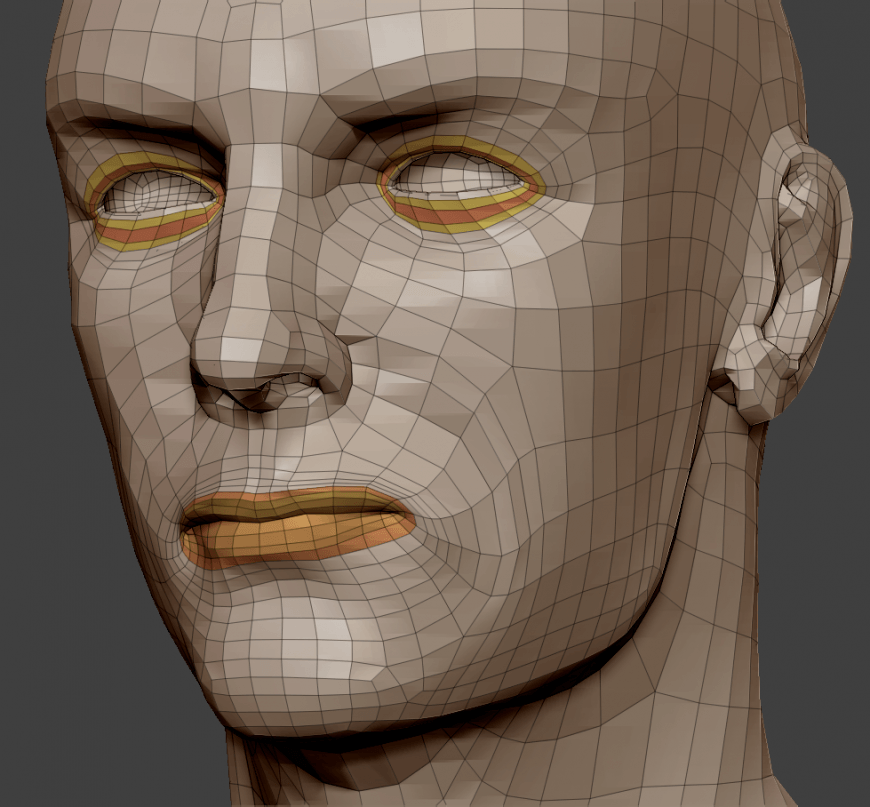
Now I am ready to begin the actual sculpting process by dragging a Dynamesh sphere and starting to symmetrically block out the shape of the character’s head.
Given the fact that Dynamesh allows you infinite flexibility when it comes to modeling but doesn’t generate efficient, usable topology (the way in which the polygons creating the surface are arranged) for a realistic character (eg: the area around the mouth and eyes should follow the circular direction aka “flow” of the Orbicularis Oris and Oculi that is ideal for animation and blend shapes), I tried my luck with the ZRemesher feature of ZBrush that automatically generates clean topology based on your specifications. Unfortunately, this hasn’t worked to my liking so I decided to do it manually, using a piece of software called Topogun. After a day’s work I managed to create some decent topology based on my initial Dynamesh model and then project the Dynamesh details onto the new topology.
| 
|
From here on out it’s just iteration after iteration while trying to reach a satisfactory level of likeness…Also, I broke the symmetry at an early stage (perhaps too early) and started making major adjustments on the first few subdivision levels and only then, by gradually subdividing, I proceeded in further refining the surface.
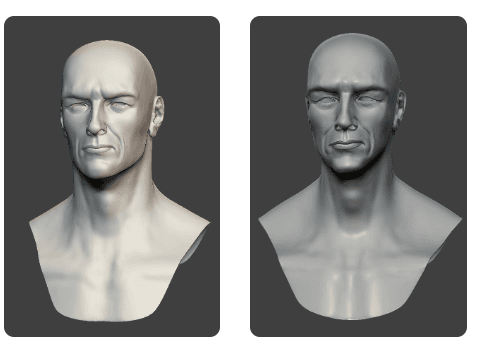
The 4th and 6th iterations (from left to right) It looks as if things had started to take a somewhat creepy turn at this point while gradually straying from the likeness… So what I have gathered from this is that it’s always beneficial to take a step back, take a break from watching that familiar “horde of pixels” and only then come back rejuvenated only to discover something got lost along the way…and preferably not sanity…
Since there are 23 iterations so far on this long quest for the elusive likeness mojo I will only provide a few more examples of the “misfits” encountered along the way…
A particularly menacing “Cpt. Pollution” version of the proper “Cpt. Planet” one that is only to emerge later next to one with an apparent Aphex Twin grin... (left to right

Anyway, long story short, after subsequent perilous plot holes I gradually approached the final look (which is the closest I could get to so far) and thus finally started adding some finer details on different layers so as to preserve as much control as possible.
|
|
I also used these proxy eyes at some point but eventually decided to use the lesser descriptive ones.
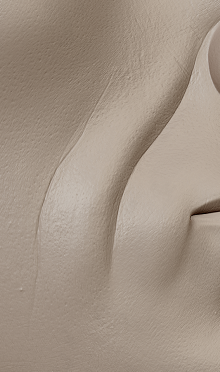
So the 1st layer I created contains just random surface noise so as to break the seamless smoothness of the mesh (apart from the mouth and eyes area).
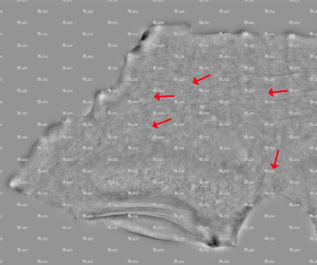
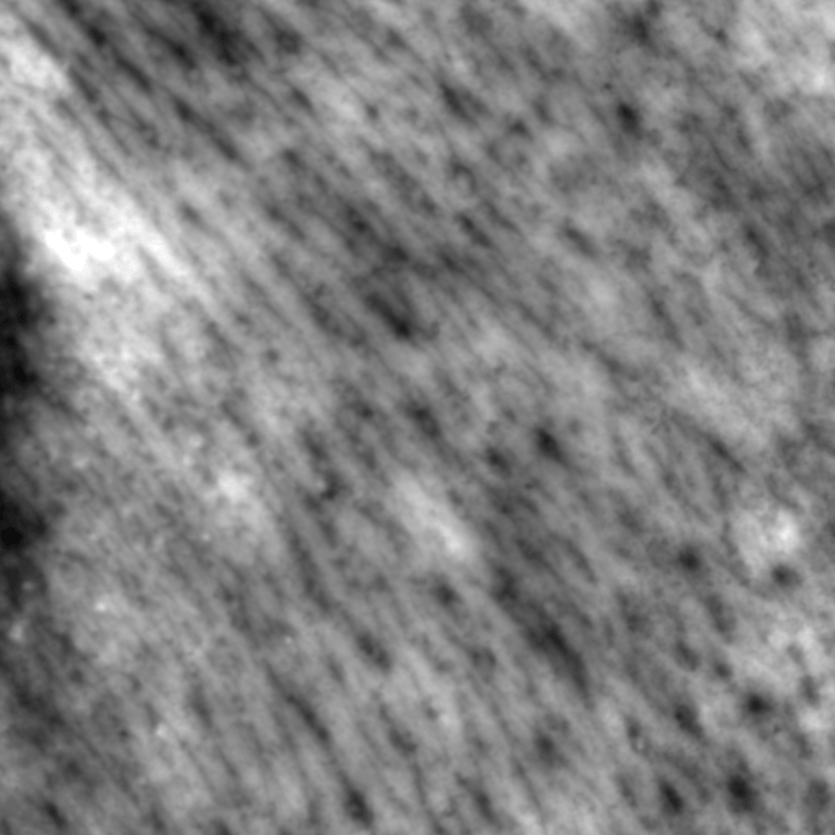
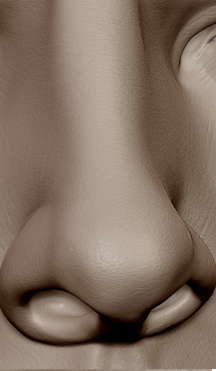
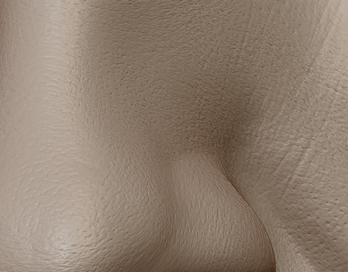
Next I started to add skin directionality by applying some alphas on the surface more or less taking into account how it actually behaves on human skin (for this I used some images as reference from http://www.surfacemimic.com/.
 |
|
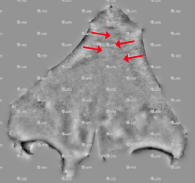
Notice the "flow" of the skin, in the case of the left forehead portion of a 40 years old male and on the nose, respectively.
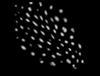
| Some of my results by applying a simple alpha (shown below) and then duplicating the layer (the 1st one set to 1 (100%), the other at 0.35. | 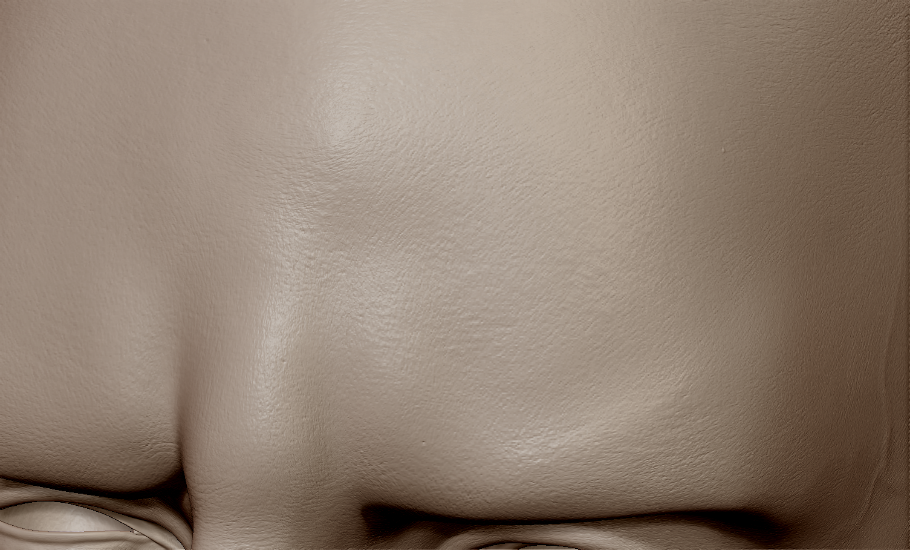 |
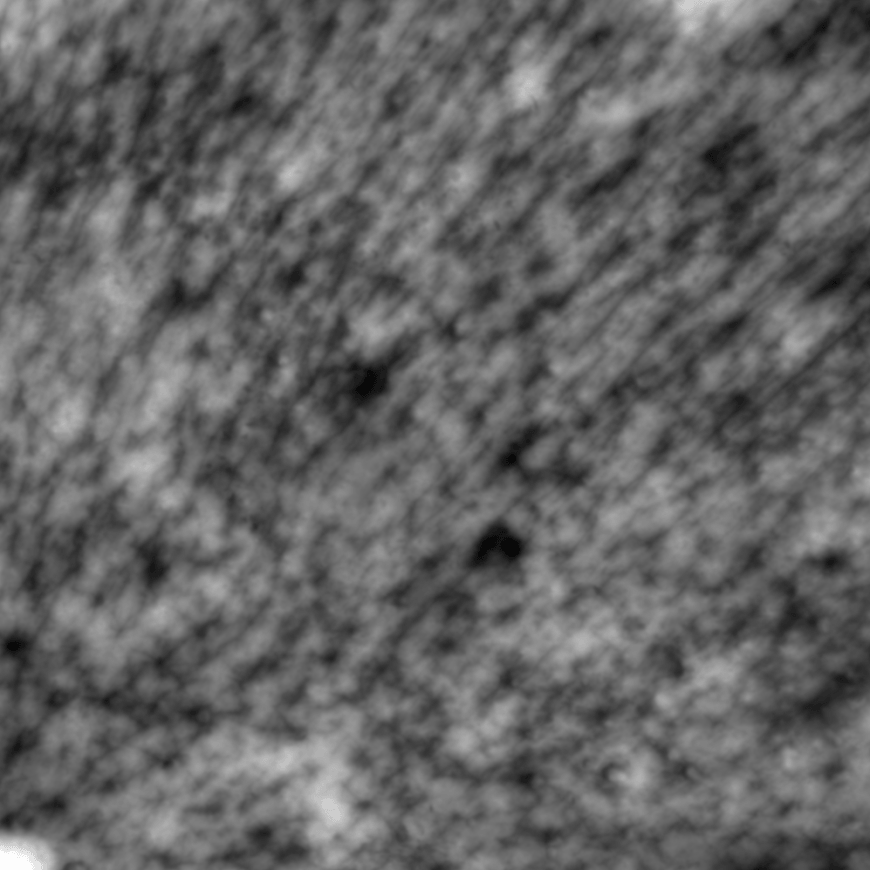 |  |
These 2 alphas are definitely more accurate when it comes to skin directionality (from an actual human 3D scan), but I only stumbled upon them later so perhaps I’ll apply these instead at some point…time will tell…
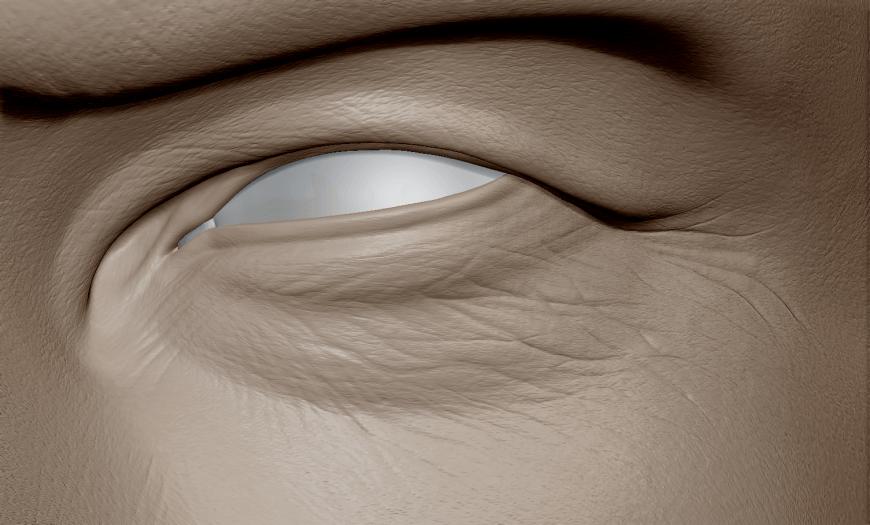
Some subtle eye wrinkles on a new layer (0.8 value)
 |
|
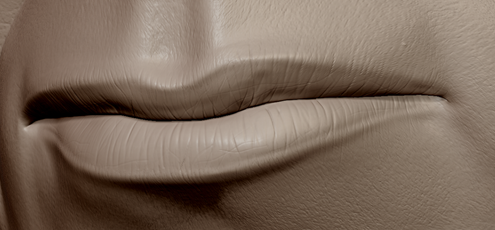 |
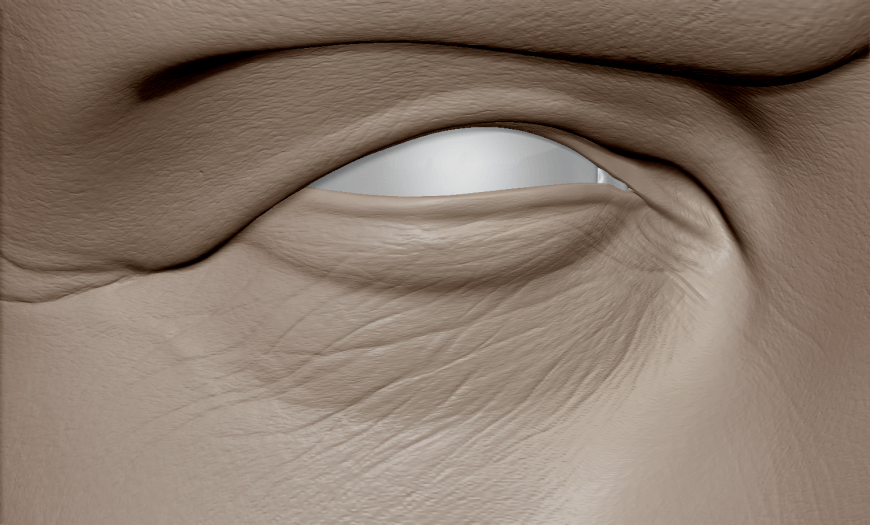
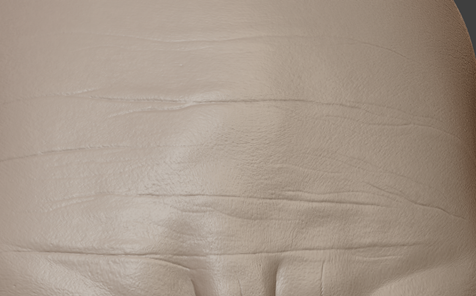
Other various examples of wrinkles and skin details
|
|
|
|
|
OK, so other details include various types of pores depending on the corresponding area of the face, for example:
|

|
|

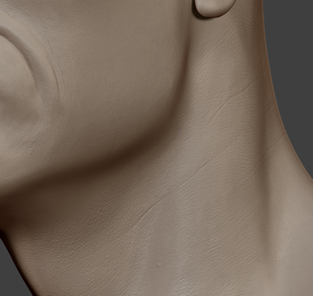
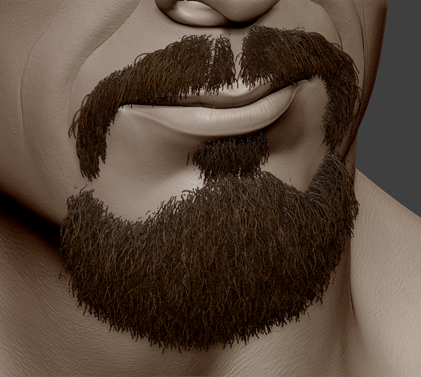
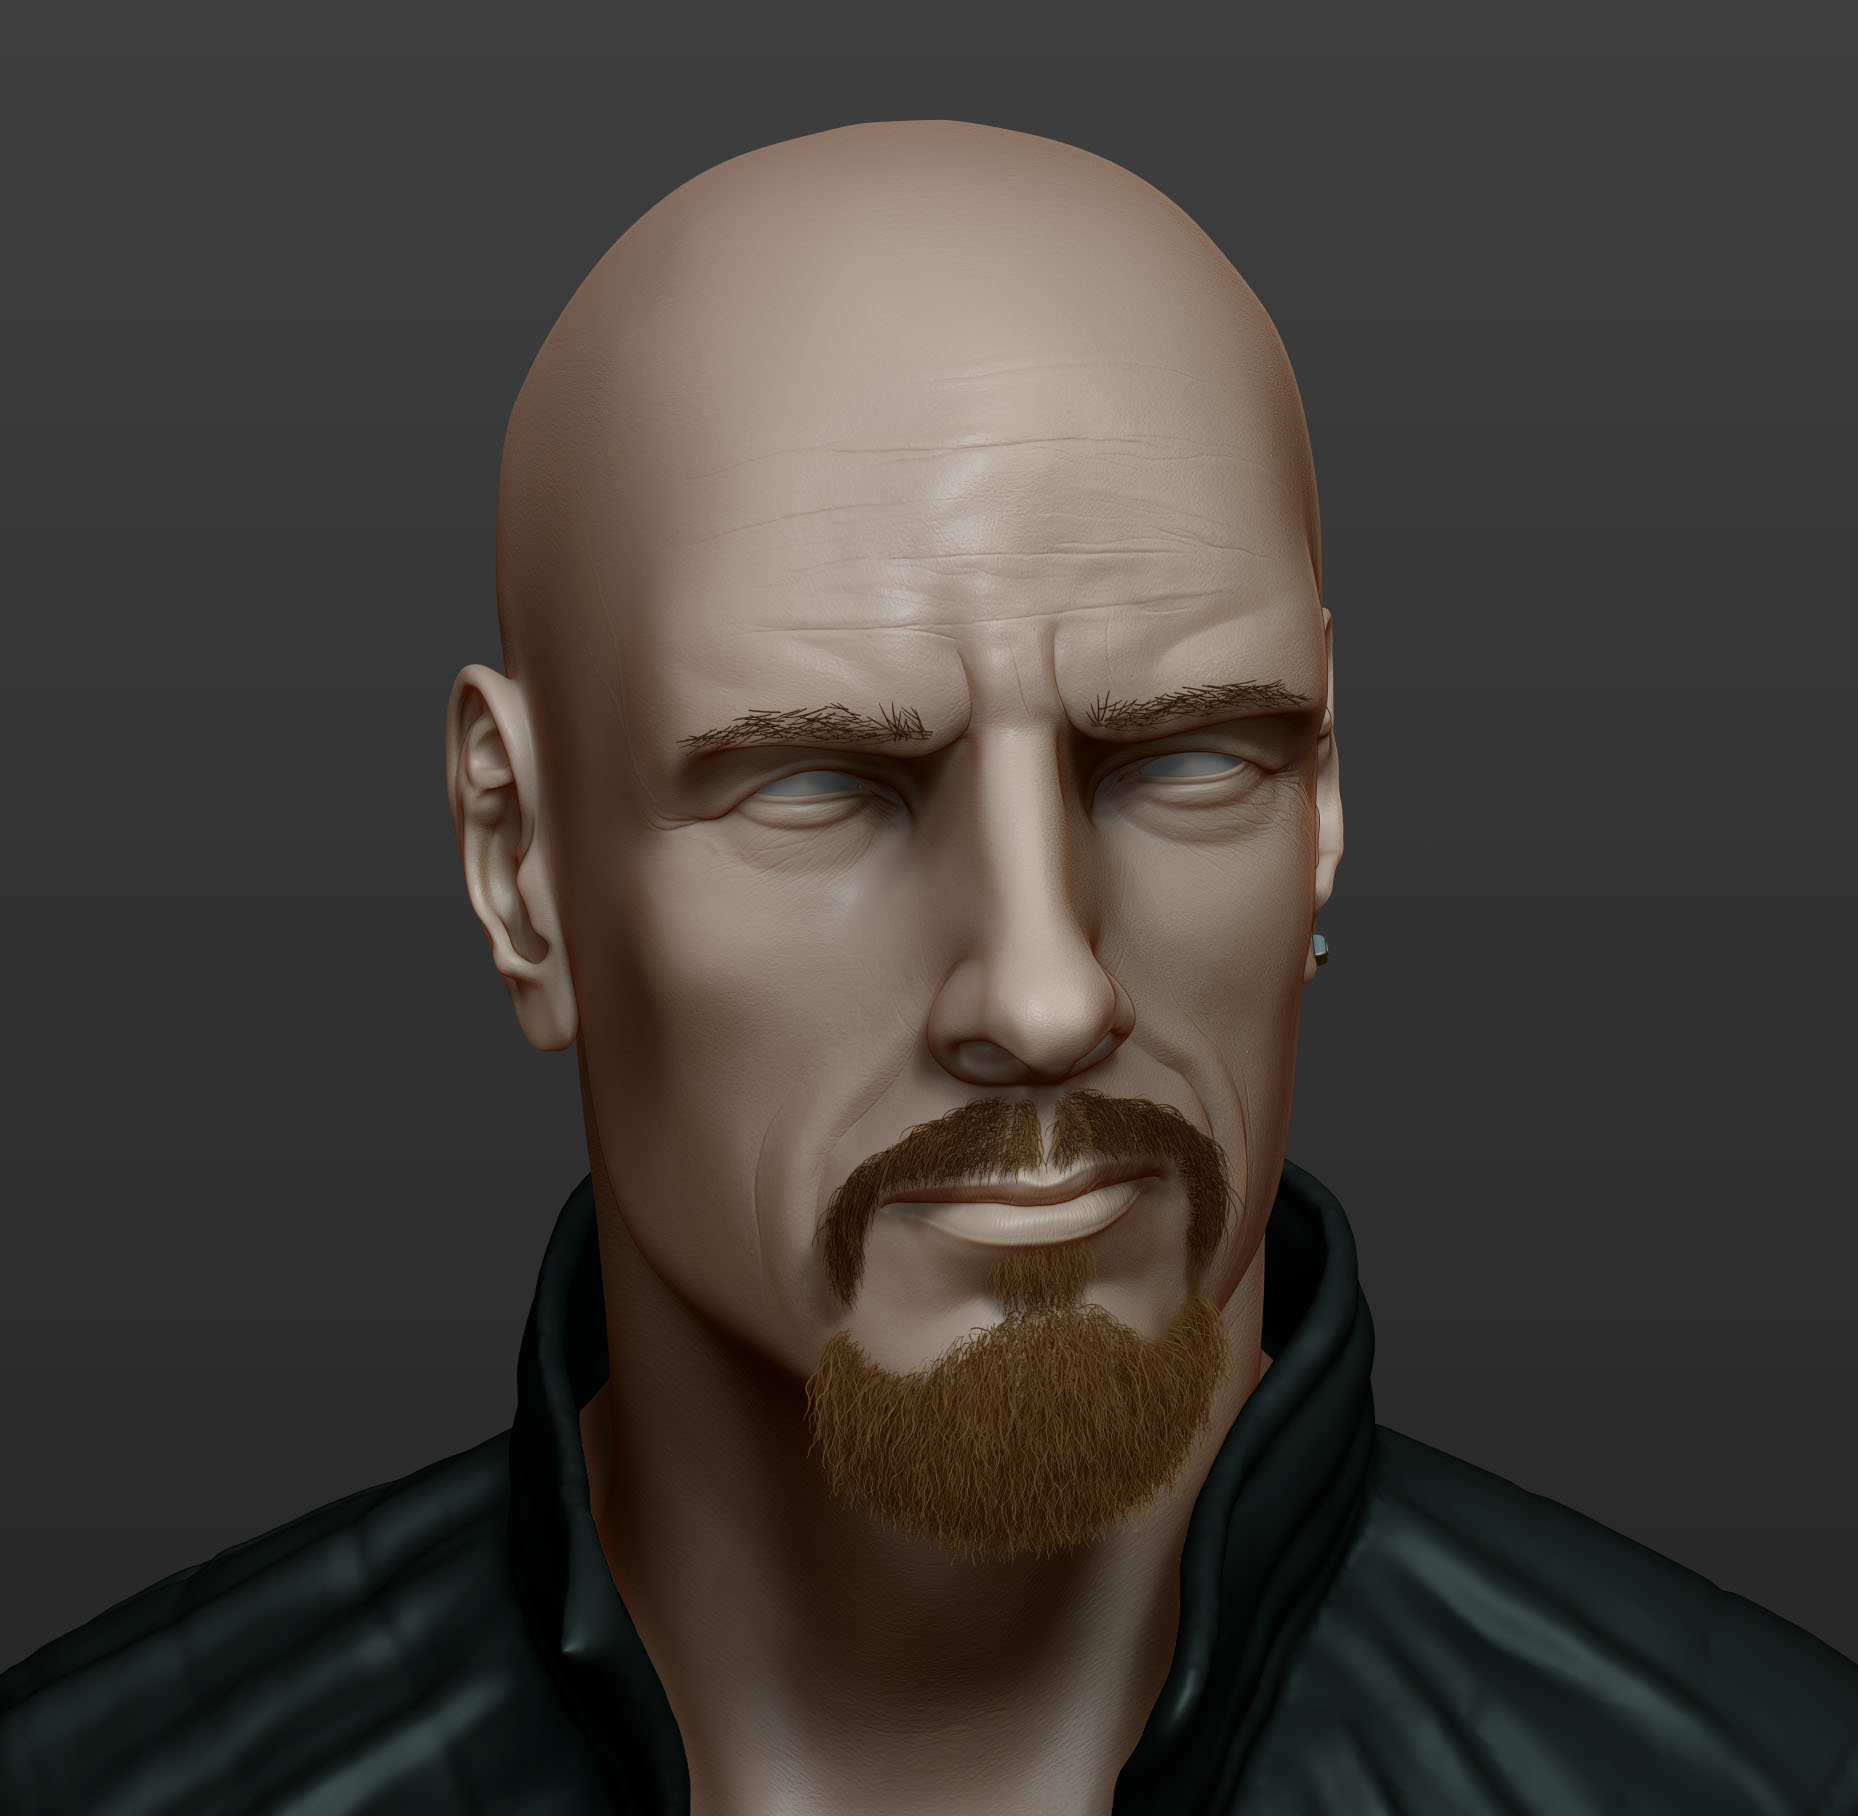
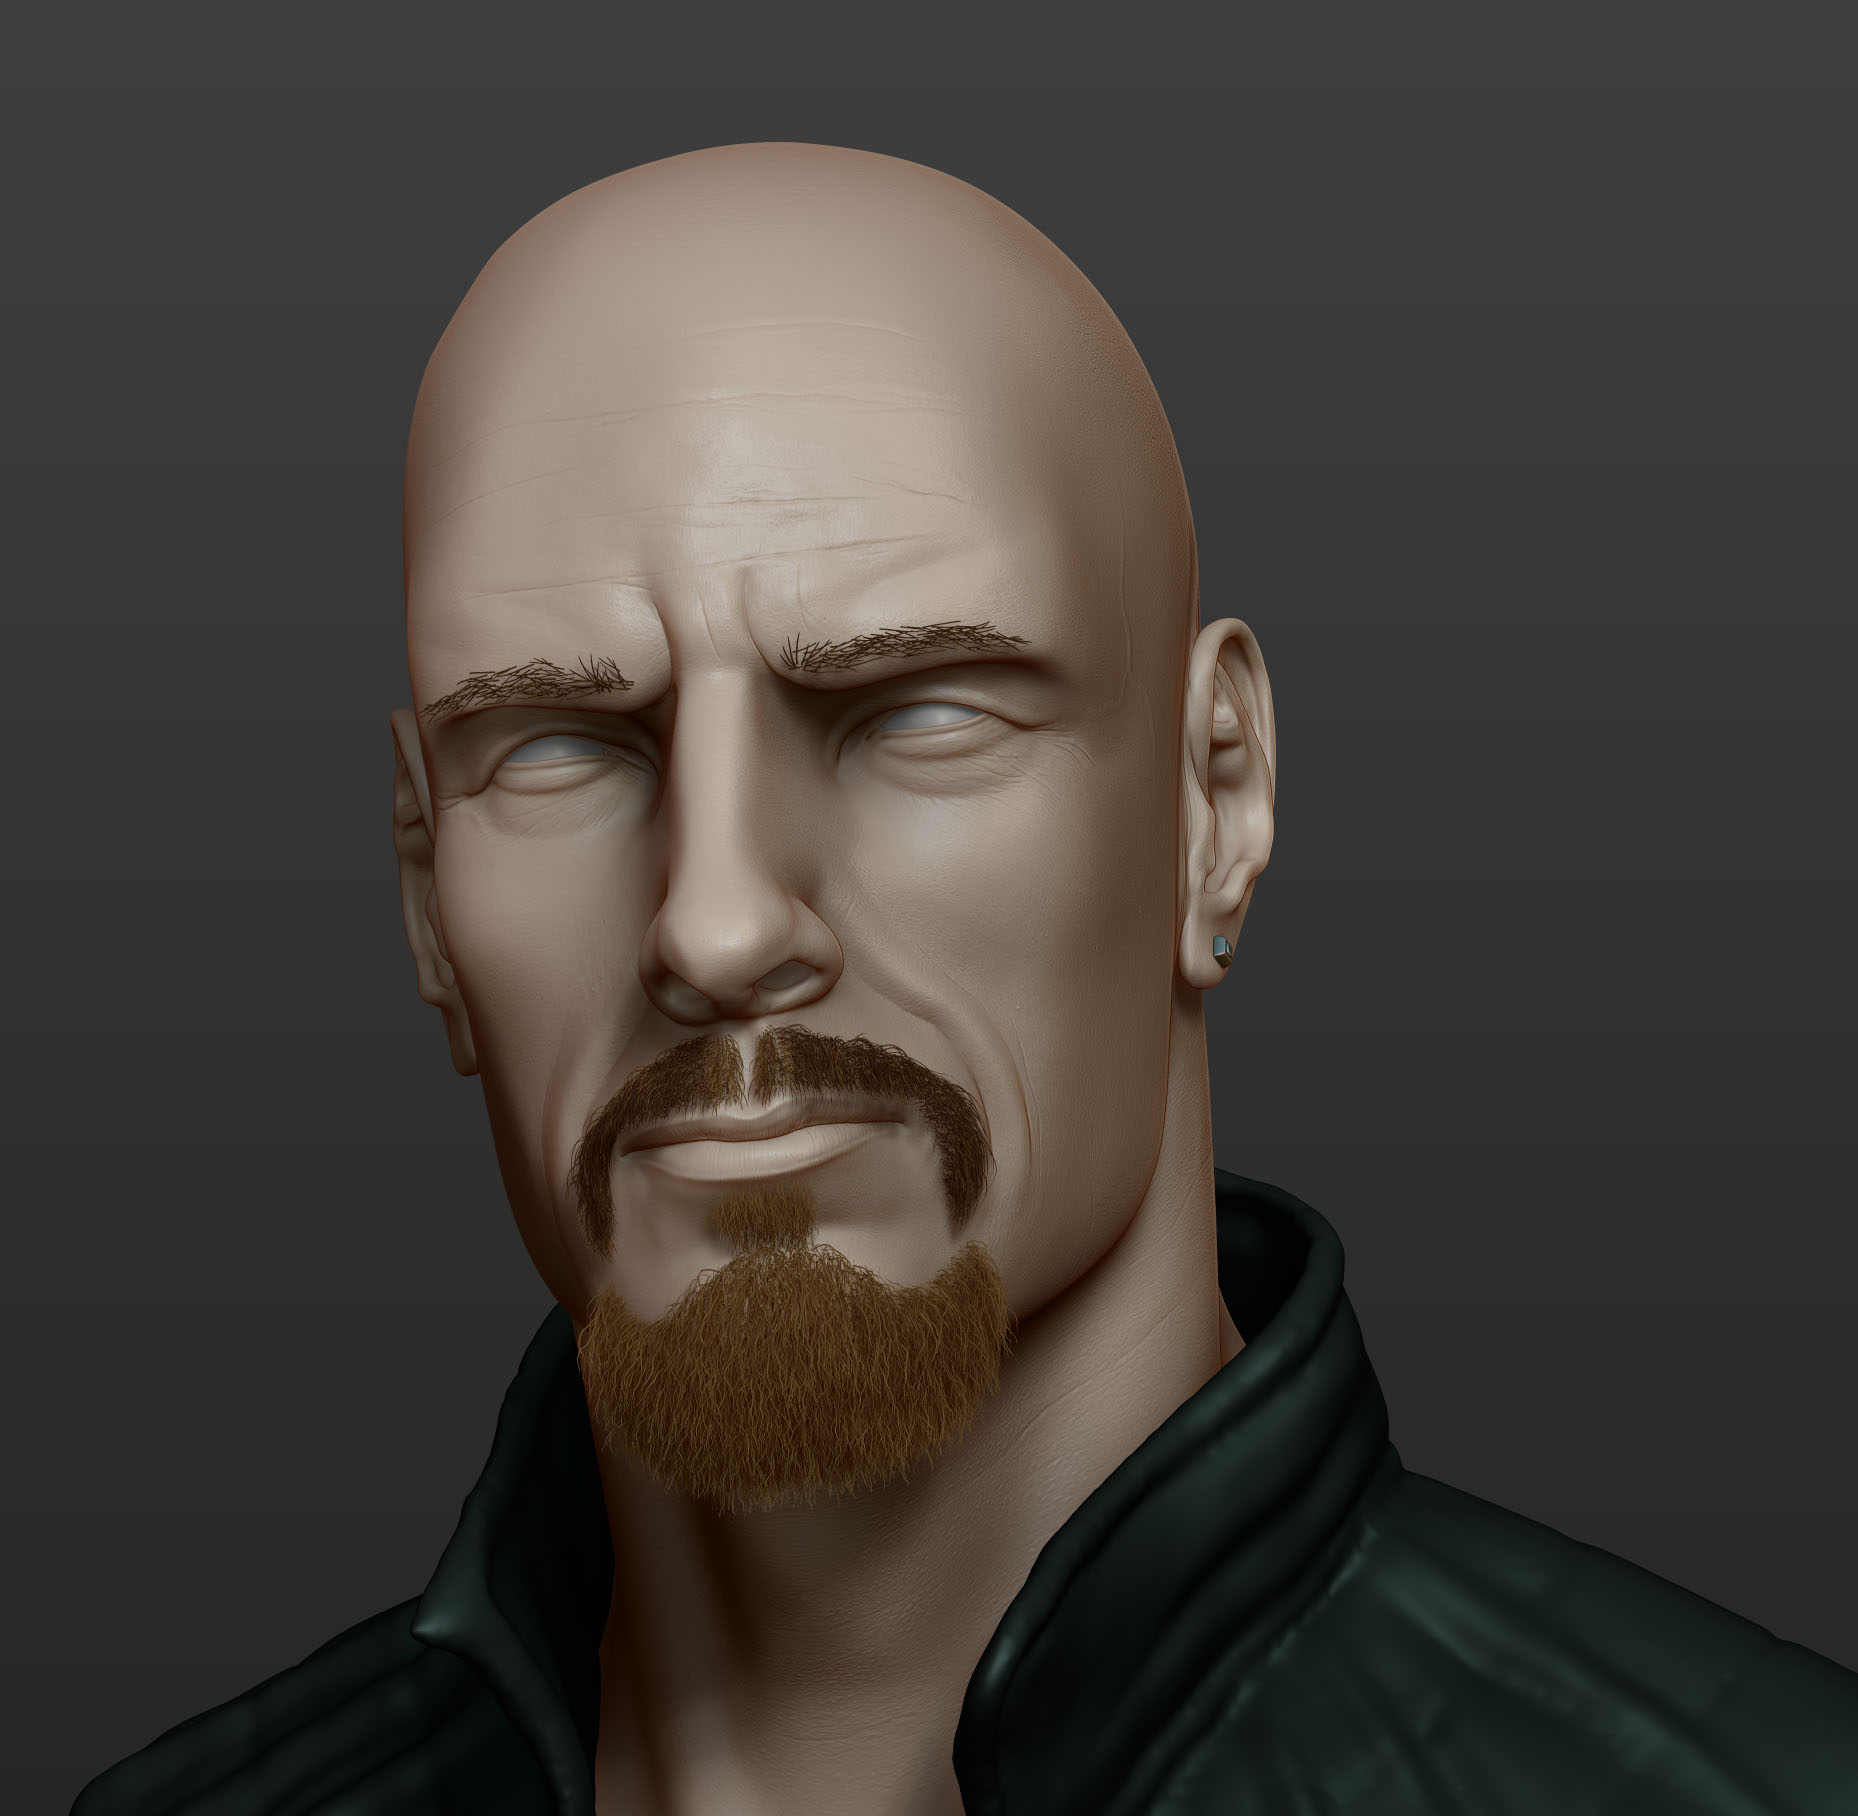
After the skin detailing (which included some more mild imperfections and moles) I changed the overall pose of the head (tilting it to the right, on a new layer) and further adjusted the shape so as to remove any unnatural lumps that resulted; I then applied the same movement to the eyes and created the beard by using Fibermesh
 | 
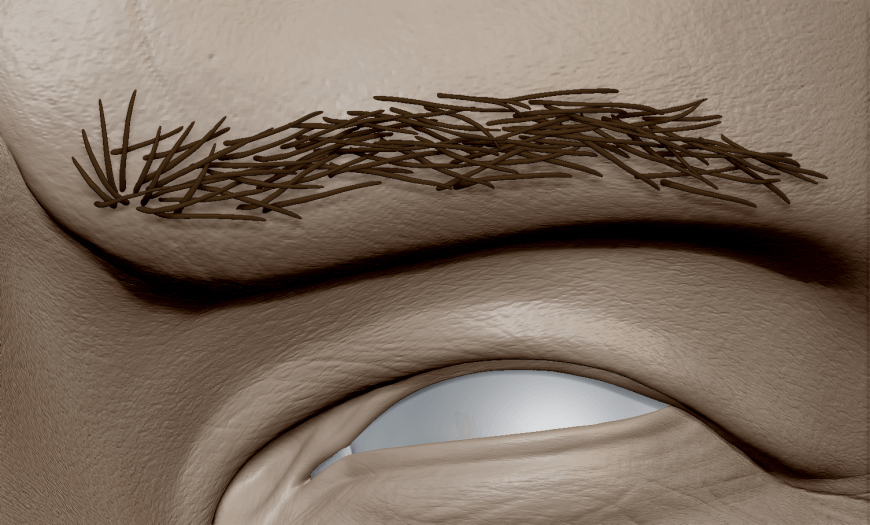 |
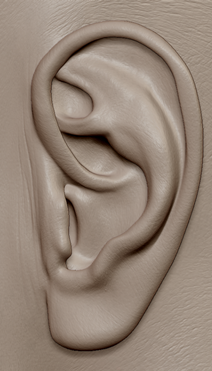
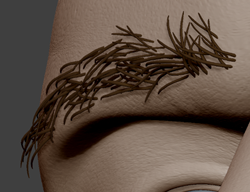
The eyebrows, however, were created by individually placing each hair (in its turn created using ZSpheres); the same process applies to the eyelashes (on my ‘to do’ list, for sure)
I created the earring using the ZModeler brush (used for hard-surface modeling), another infinitely powerful tool the software is equipped with.

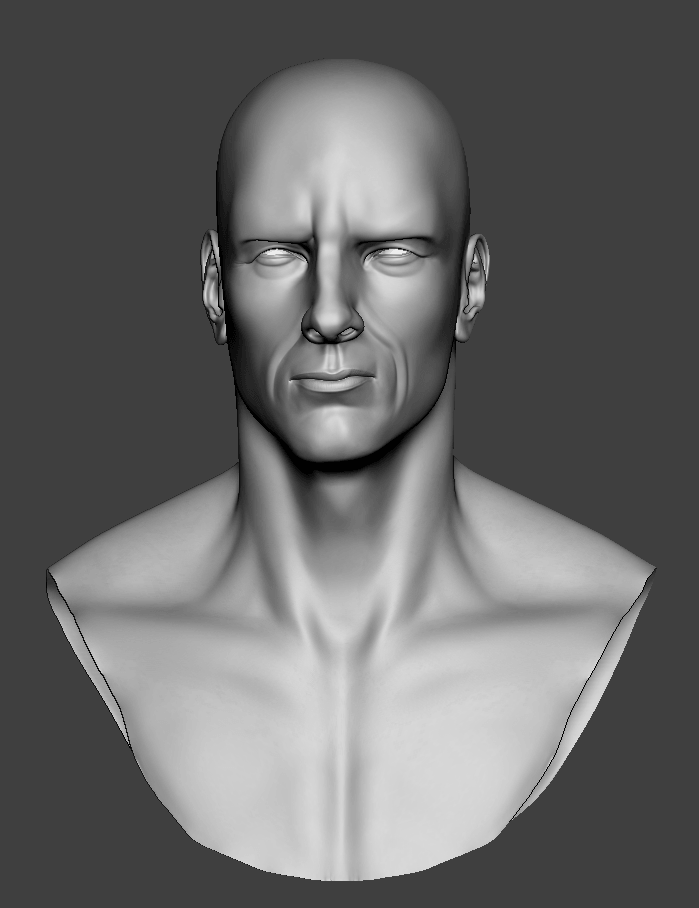
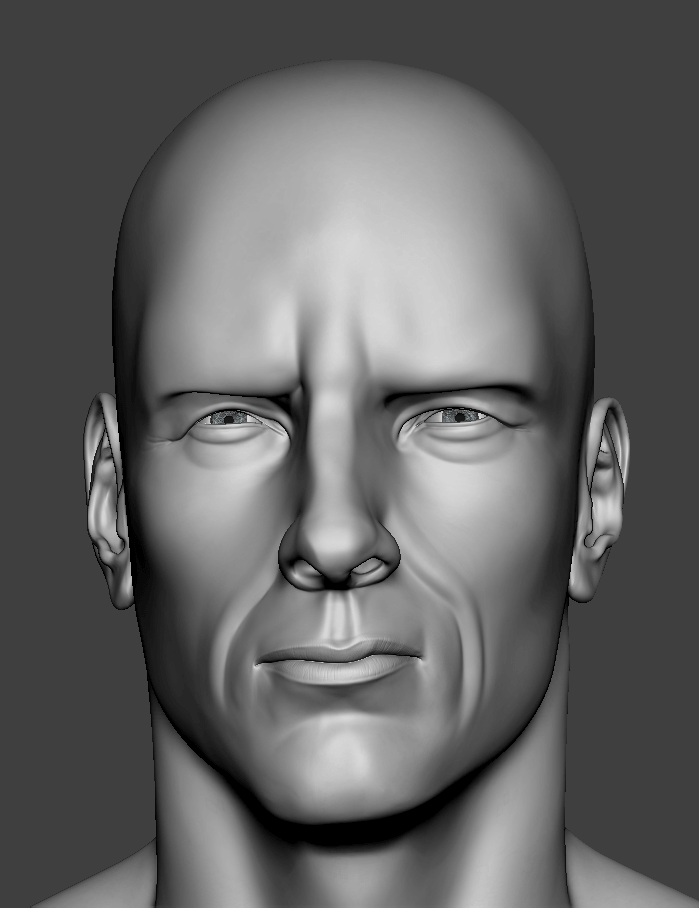
OK, so below I showcase a couple of better rendered images of the character as well as the front, side and back of the whole bust.
 |
 |
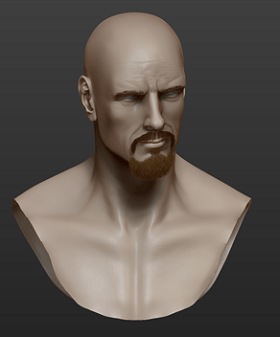 | 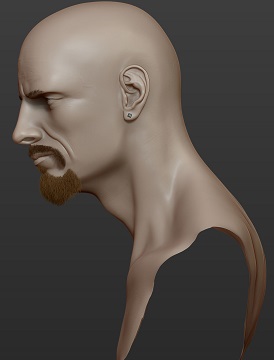 | 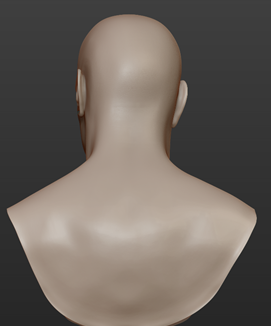 |
So, to wrap this up, I hope this brief introduction to the process of creating a 3D likeness sculpture has been broadly effective in inspiring you to investigate it further and, most importantly, to try it out for yourself…You will undoubtedly learn a great deal on the way and, in the light of the axiom ‘there is always room for improvement’, constantly produce better and better results (as I’m sure I myself will). It goes without saying then (but I will quote it anyway) that all you have to do is “Just DO IT!” (and, equally important, find a less prosaic motivational mantra).
Good luck and thanks for tuning in!


