Read time: 6 minutes
Introduction to Ionic Framework:
In this blog post I will try to create a detailed and useful Ionic Framework Tutorial and I hope you'll like it.
Ionic is a free and open source framework, built for creating a hybrid mobile application for Android and iOS devices. It uses web components such as HTML, CSS and JavaScript. Ionic framework is based on the Angular.js framework from Google. The long and short of it, if you want to build a mobile application, you need to know some front-end technologies and Ionic can help you build the mobile application in the Android or the iOS platform.
System requirements
First of all, when developing an Ionic application, it is necessary to install the Android SDK or the iOS SDK. For the development of an iOS mobile application it is mandatory to use a computer running the Apple OS (desktop or laptop). For Android OS we need a computer with either Windows, Linux version (I use Ubuntu 14.04) or Apple OS.
In this article we’ll implement an Android application, however before installing the Android SDK, be sure if you have the following installed on your computer: jdk, node.js, npm and bower, because Ionic requires these packages. If you not have these packages installed, use the following steps:
Install jdk steps:
- Check if Java is not already installed: java -version
- If the command returns "The programjava can be found in the following packages", use: sudo apt- get install default- jre
- After that, install jdk using: sudo apt- get install default- jdk
Steps to install node.js using Ubuntu terminal:
- curl -sL https://deb.nodesource.com/setup_4.x | sudo -E bash -
- sudo apt-get install -y nodejs
- Check node.js version: node -v
After node.js has been installed, you will need to install the npm package manager, because bower requires that, of course using Ubuntu terminal:
- sudo apt-get install npm
- Check npm version: npm -v
Bower install:
- npm install -g bower
- Check bower version: bower -v
Now we can safely install the Android SDK, using the following link, and steps: https://developer.android.com/studio/index.html
After the Android SDK has been installed, it is necessary to add this on your Ubuntu PATH for building your application in the apk file, using the following instructions in Ubuntu Terminal:
- export ANDROID_HOME={PATH to Android Sdk}
- export PATH=$PATH:$ANDROID_HOME/tools:$ANDROID_HOME/platform-tools
Install Ionic framework and project setup:
For installing the Ionic Framework I used the following command:
npm install -g cordova ionic
After install is finished you can use ionic -v command to see the Ionic version, which in my case is 1.7.15.
After the installation is complete, we can start developing a new application. In this article I've implemented a mobile application using the football-data.org rest API. In order for you to use that, you need to send an email to get the API key. That API contains approximatively 15 of the best football leagues from Europe, including Champions League and UEFA EURO 2016. Each league contains information about teams, players and fixtures.
The first step to create a project with Ionic Framework is:
ionic start liveFootball blank
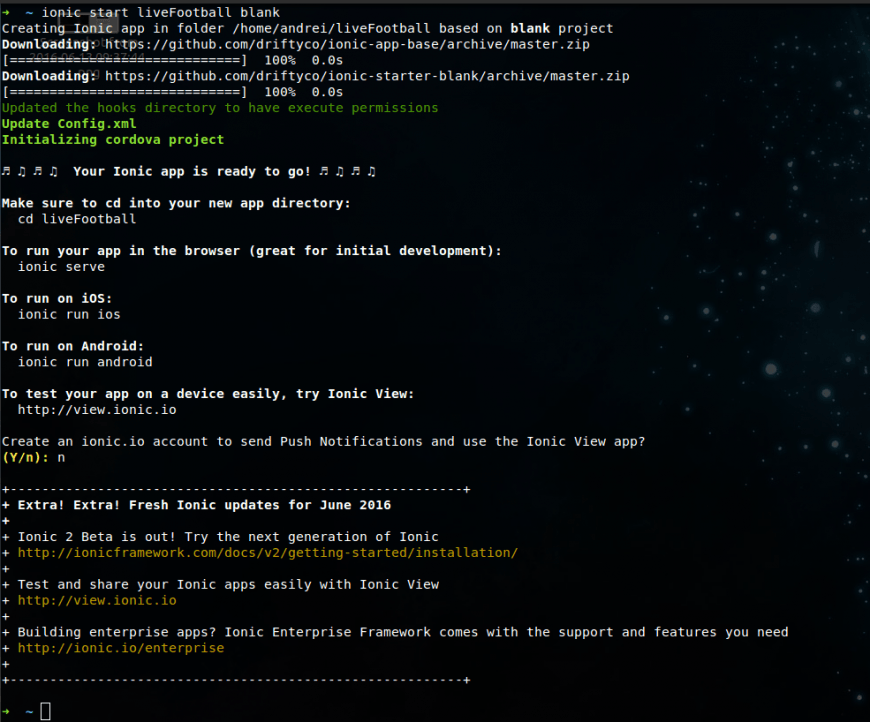
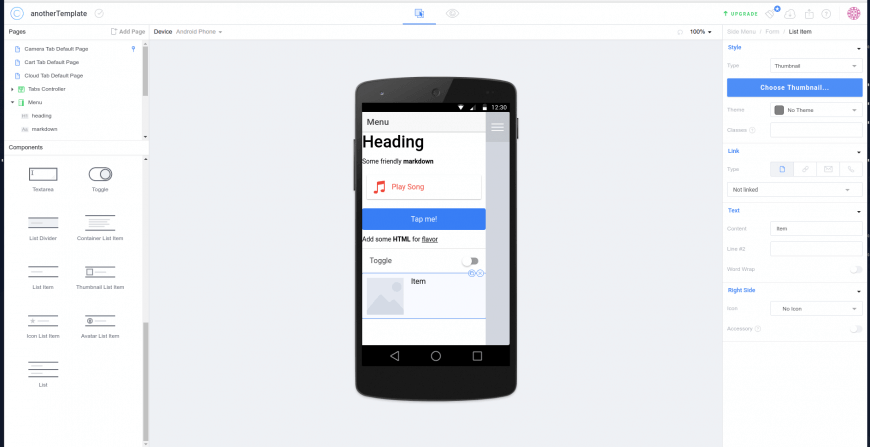
The “liveFootball” section from the command is the name of our project and “blank” is the template of the project. If you want to use or create another template you can achieve this using the Ionic Creator (following image).
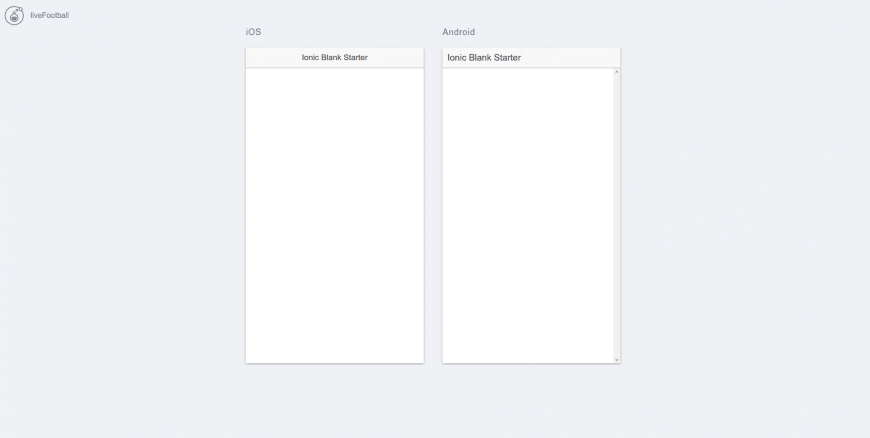
For starting the application in your browser, go in the liveFootball directory and run the following command:
ionic serve –lab
Implementation
The first step to implementation is to have a clear vision of the project’s structure. In the following image we can see the www directory, here we will write the code to implement our application. We have here the css directory, img directory, js directory and lib directory. I create a new directory, named “view directory” which contains the views of the project (partials and components). In the js directory, I've made more folder for controllers, models and
directives.
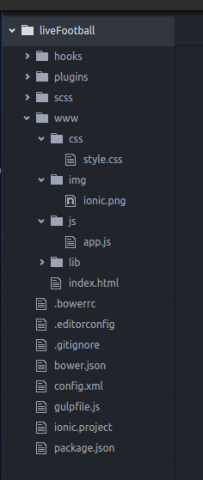

Each view file from the partials directory, has a controller and a route. All routes are defined in app.js file.
...
$stateProvider
 .state('tabs', {
 url: "/tabs",
 abstract: true,
 templateUrl: "views/components/tabs.html"
 })
 .state('tabs.home', {
 url: "/home",
 views: {
 'main-tab': {
 templateUrl: "views/partials/home.html",
 controller: 'HomeCtrl'
 }
 }
 })
 .state('tabs.league-info', {
 url: "/league-info",
 params: {leagueID : null},
 views: {
 'main-tab': {
 templateUrl: "views/partials/league-info.html",
 controller: 'LeagueInfoCtrl'
 }
 }
 })
...
For connecting and using the rest API, I declared some constants as follows:
angular.module('liveFootball', ['ionic'])
 .constant('urls', {
 BASE: 'http://api.football-data.org/',
 BASE_API: 'http://api.football-data.org/v1/soccerseasons/',
 TEAM_URL: 'http://api.football-data.org/v1/teams',
 HEAD: {
 'X-Auth-Token': 'your API key'
 }
 });
..
In the “urls” constant we have 4 properties:
- BASE: reset API url;
- BASE_API: all football seasons url;
- TEAM_URL: teams url;
- HEAD: X-Auth-Token, API key, received from http://api.football-data.org/register
This constant will be used in models, in order to get data from the API.
…
function LeaguesTableFactory ($http, urls){
function LeaguesTable() {}
angular.extend(LeaguesTable.prototype, {
getLeagues: function () {
var getLeague = {
method: 'GET',
url: urls.BASE_API,
headers: urls.HEAD
}
return $http(getLeague);
},
...
In the previous code snippet, I've made a LeagueTableFactory when I inject $http and urls from app.js constants. After that I've made a function LeaguesTables, after which I use angular.extend to extend the LeaguesTable function and here I've made some methods for each end-point, according to what I needed:
- getLeagues – get all leagues from API;
- getTeams - get all teams for each league;
- getFixtures – get season fixtures;
- getTables – get league season tables;
- getTeam – get team information;
- getTeamFix – get team all season fixtures;
- getTeamPlayer – get list of team players.
LeagueTableFactory has been injected in each controller, because each view has a controller. For example, the home page has the following controller and view:
HomeCtrl.js controller:
(function () {
'use strict';
function HomeCtrl($scope, LeaguesTableFactory, $rootScope){
var self = this,
leagueTable = new LeaguesTableFactory();
function getAllLeagues() {
return leagueTable
.getLeagues()
.then(function (response){
$scope.leagues = response.data;
})
.catch(function (error){
console.log(error);
});
}
getAllLeagues();
return $scope.HomeCtrl = self;
}
HomeCtrl
.$inject = ['$scope', 'LeaguesTableFactory', '$rootScope'];
angular
.module('liveFootball')
.controller('HomeCtrl', HomeCtrl);
}());
home.html view:
Results: Home page
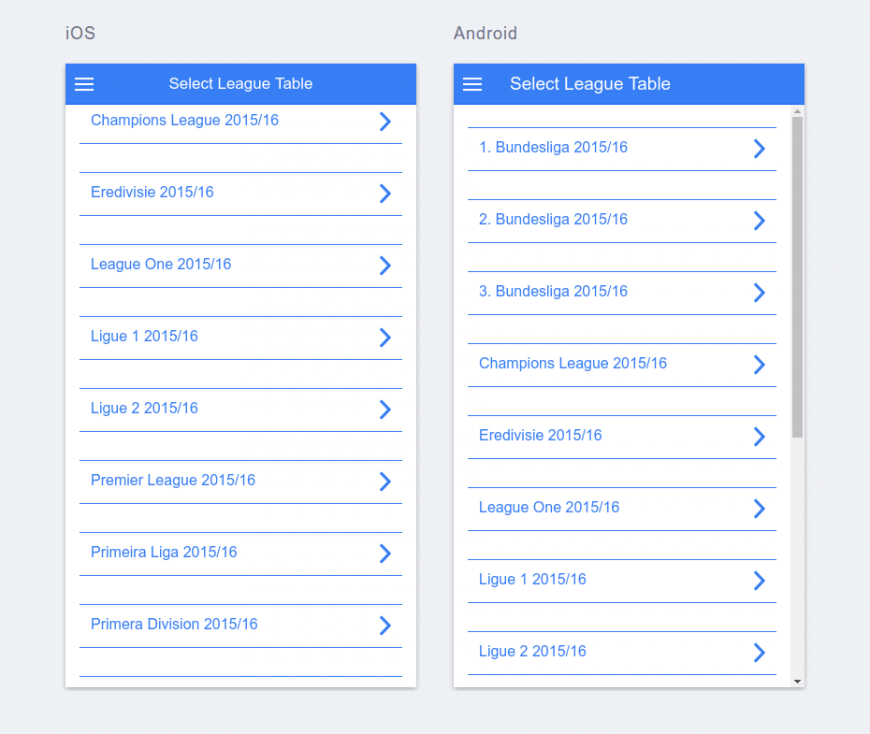
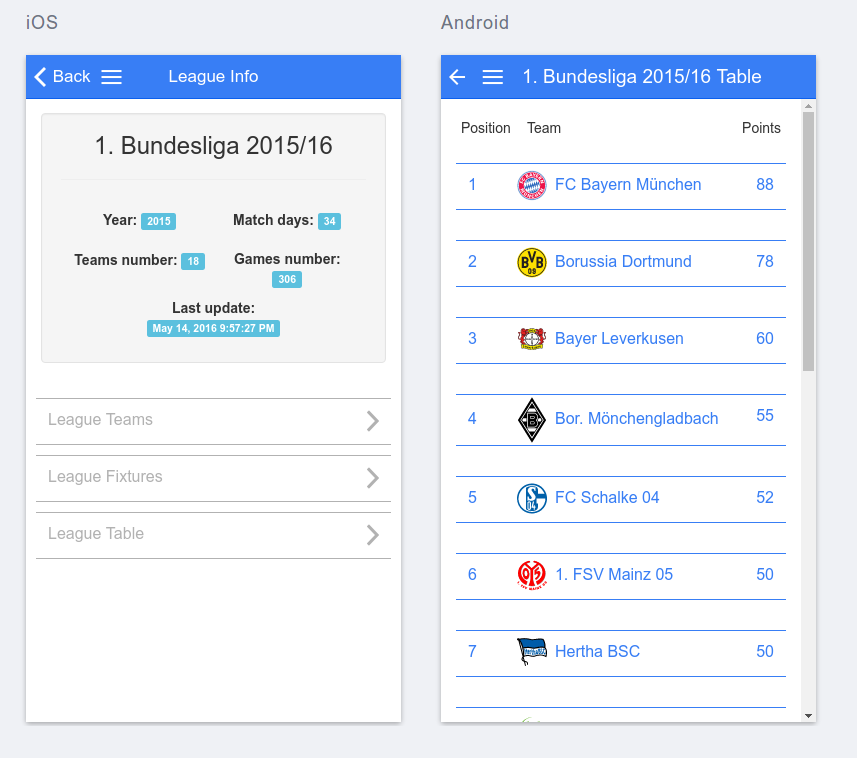
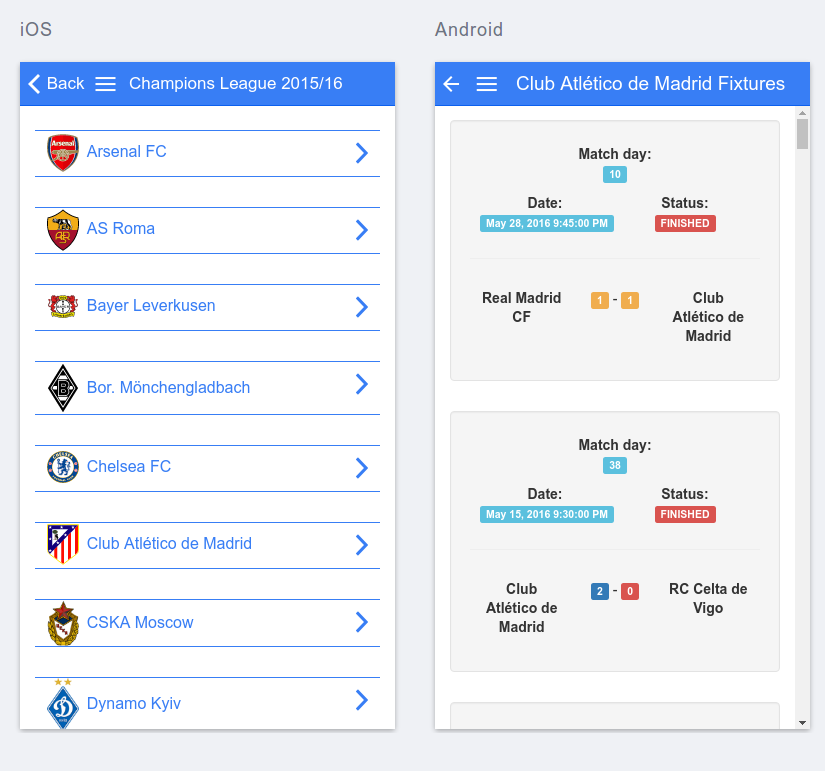
League info view, team info view, team players view, group view and club fixture view.


Build Android application
To build your Ionic application, use the following commands:
- cordova platform add android
- ionic build android
After the build is finished, you will be able to find the .apk file in ../liveFootball/platforms/android/build/outputs/apk/android-debug.apk .
Ionic Framework Tutorial - Conclusions
Ionic Framework is great for developing hybrid mobile application, because it has great components from web (HTML/CSS/JS). If you have the knowledge to develop front-end applications with AngularJS, then it will be very easy to develop a mobile application with Ionic. The documentation of this framework is very detailed and on Google you can find plenty of code snippets, questions and answers.
The source code of this Ionic Framework Tutorial is here.


